Run Your First App on Kubernetes with Kusion
In this tutorial, we will walk through how to deploy a quickstart application on Kubernetes with Kusion. The demo application can interact with a locally deployed MySQL database, which is declared as an accessory in the config codes and will be automatically created and managed by Kusion.
Prerequisites
Before we start to play with this example, we need to have the Kusion CLI installed and run an accessible Kubernetes cluster. Here are some helpful documents:
- Install Kusion CLI
- Install kubectl CLI and run a Kubernetes cluster. Some light and convenient options for Kubernetes local deployment include k3s, k3d, and MiniKube
Initialize Project
We can start by initializing this tutorial project with kusion init cmd.
# Create a new directory and navigate into it.
mkdir quickstart && cd quickstart

# Initialize the demo project with the name of the current directory.
kusion init
The created project structure looks like below:
tree
.
├── dev
│   ├── kcl.mod
│   ├── main.k
│   └── stack.yaml
└── project.yaml

2 directories, 4 files
Review Configuration Files
Now let's have a glance at the configuration codes of dev stack:
cat dev/main.k
import kam.v1.app_configuration as ac
import kam.v1.workload as wl
import kam.v1.workload.container as c
import network as n

# main.k declares the customized configuration codes for dev stack.
quickstart: ac.AppConfiguration {
    workload: wl.Service {
        containers: {
            quickstart: c.Container {
                image: "kusionstack/kusion-quickstart:latest"
            }
        }
    }
    accessories: {
        "network": n.Network {
            ports: [
                n.Port {
                    port: 8080
                }
            ]
        }
    }
}
The configuration file main.k, usually written by the App Developers, declares the customized configuration codes for dev stack, including an AppConfiguration instance with the name of quickstart. The quickstart application consists of a Workload with the type of kam.v1.workload.Service, which runs a container named quickstart using the image of kusionstack/kusion-quickstart:latest.
Besides, it declares a Kusion Module with the type of network.Network, exposing 8080 port to be accessed for the long-running service.
The AppConfiguration model can hide the major complexity of Kubernetes resources such as Namespace, Deployment, and Service which will be created and managed by Kusion, providing the concepts that are application-centric and infrastructure-agnostic for a more developer-friendly experience.
The declaration of the dependency packages can be found in dev/kcl.mod:
cat dev/kcl.mod
[package]
name = "kusion-quickstart"
version = "0.1.0"

[dependencies]
kam = { git = "https://github.com/KusionStack/kam.git", tag = "0.1.0" }
network = { oci = "oci://ghcr.io/kusionstack/network", tag = "0.1.0" }

[profile]
entries = ["main.k"]
More details about the application model and module dependency declaration can be found in Kusion Module guide for app dev.
Application Delivery
Use the following command to deliver the quickstart application in dev stack on your accessible Kubernetes cluster while watching the resource creation.
cd dev && kusion apply --watch

During the first apply, the models and modules that the application depends on will be downloaded, so it may take some time (usually within two minutes). You can take a break and have a cup of coffee.
Check the created Deployment status:
kubectl -n quickstart get deployment
The expected output is shown as follows:
➜  dev kubectl -n quickstart get deployment
NAME                        READY   UP-TO-DATE   AVAILABLE   AGE
quickstart-dev-quickstart   1/1     1            1           1m1s
Kusion by default will create the Kubernetes resources of the application in the namespace the same as the project name.
Check the created Service status:
kubectl -n quickstart get service
The expected output is shown as follows:
➜  dev kubectl -n quickstart get service
NAME                                TYPE        CLUSTER-IP     EXTERNAL-IP   PORT(S)    AGE
quickstart-dev-quickstart-private   ClusterIP   10.43.129.16   <none>        8080/TCP   1m1s
Port-forward our application with the created Service:
kubectl port-forward -n quickstart service/quickstart-dev-quickstart-private 12345:8080
Now we can visit http://localhost:12345 in our browser and play with the demo application!
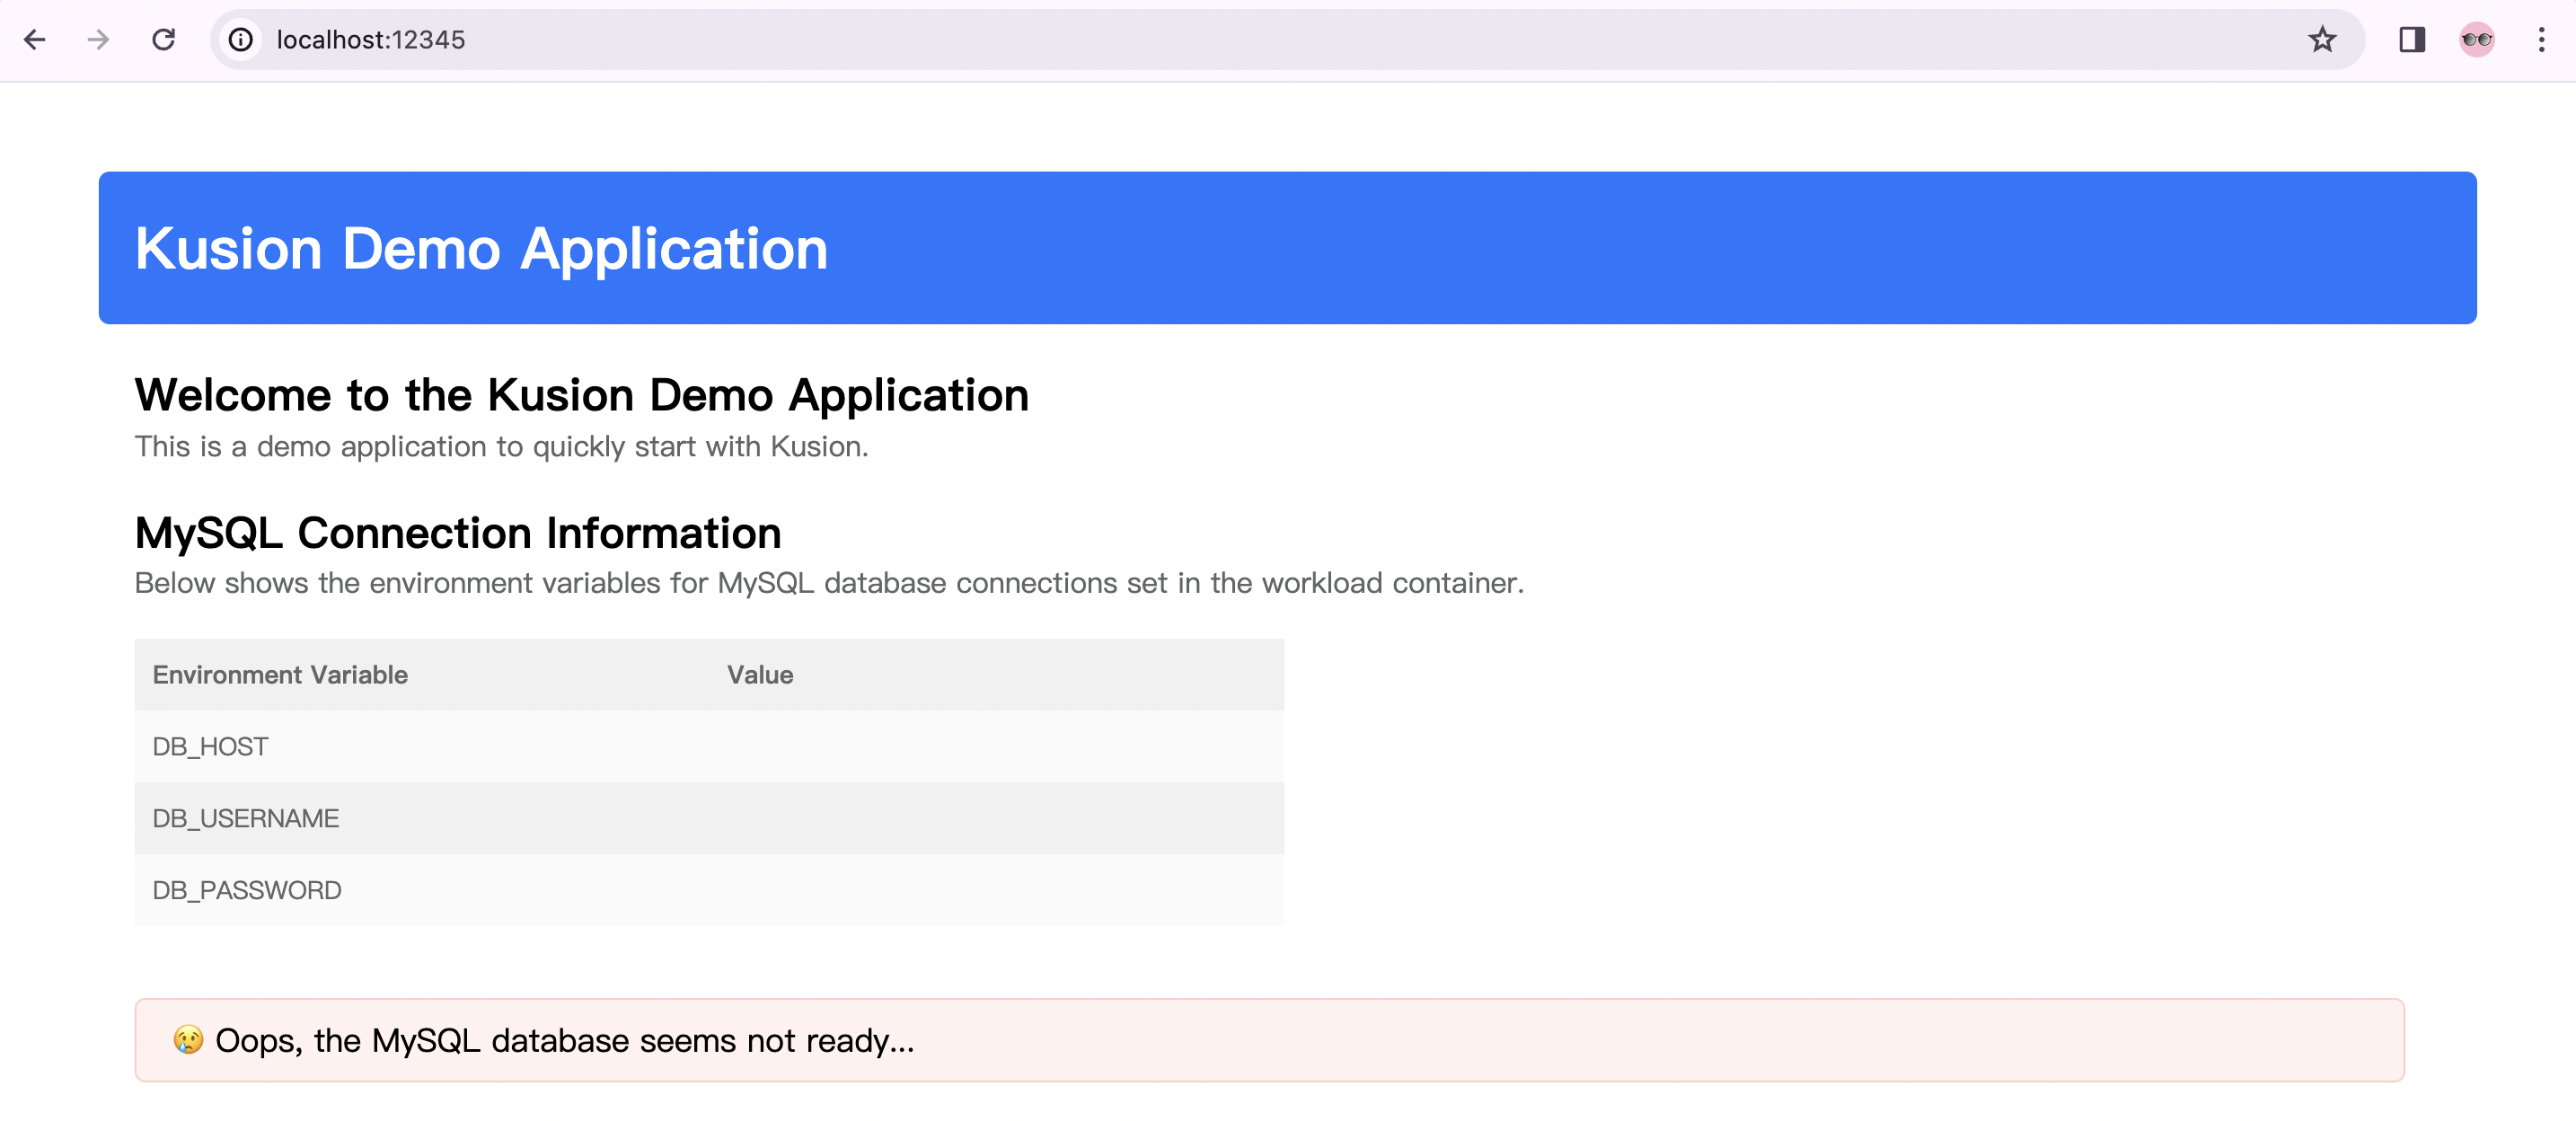
Add MySQL Accessory
As you can see, the demo application page indicates that the MySQL database is not ready yet. Hence, we will now add a MySQL database as an accessory for the workload.
Update Default Workspace
Besides the configuration codes we have seen above, Workspace configurations, usually written by Platform Engineers are also part of the complete application configuration. Kusion provides cmd for workspace create, update, delete, and switch, and it defaults to using the auto-generated default workspace for the targeted stack.
For now, we can only see an empty default workspace:
➜  dev kusion workspace list
- default
➜  dev kusion workspace show
show configuration of workspace default:
{}
To declare a MySQL database with a specified name, we need to first update the default workspace for the dev stack. Please copy the following example YAML file to your local workspace.yaml.
workspace.yaml
modules:
  kusionstack/mysql@0.1.0:
    default:
      databaseName: test-database
Then update the default workspace with cmd below:
kusion workspace update default -f workspace.yaml
More details about the configuration of Workspace can be found in Concepts of Workspace
Update Configuration Codes And Re-Apply
We can add the Kusion-provided built-in dependency in the dev/kcl.mod, so that we can use the MySQL module in the configuration codes.
[package]
name = "kusion-quickstart"
version = "0.1.0"

[dependencies]
kam = { git = "https://github.com/KusionStack/kam.git", tag = "0.1.0" }
network = { oci = "oci://ghcr.io/kusionstack/network", tag = "0.1.0" }
mysql = { oci = "oci://ghcr.io/kusionstack/mysql", tag = "0.1.0" }

[profile]
entries = ["main.k"]
We can update the dev/main.k with the following configuration codes:
# The configuration codes in the perspective of developers.
import kam.v1.app_configuration as ac
import kam.v1.workload as wl
import kam.v1.workload.container as c
import network as n
import mysql

quickstart: ac.AppConfiguration {
    workload: wl.Service {
        containers: {
            quickstart: c.Container {
                image: "kusionstack/kusion-quickstart:latest"
                env: {
                    "DB_HOST": "$(KUSION_DB_HOST_TEST_DATABASE)"
                    "DB_USERNAME": "$(KUSION_DB_USERNAME_TEST_DATABASE)"
                    "DB_PASSWORD": "$(KUSION_DB_PASSWORD_TEST_DATABASE)"
                }
            }
        }
    }
    accessories: {
        "network": n.Network {
            ports: [
                n.Port {
                    port: 8080
                }
            ]
        }
        "mysql": mysql.MySQL {
            type:   "local"
            version: "8.0"
        }
    }
}
The configuration codes above declare a local mysql.MySQL with the engine version of 8.0 as an accessory for the application workload. The necessary Kubernetes resources for deploying and using the local MySQL database will be generated and users can get the host, username and password of the database through the MySQL Credentials And Connectivity of Kusion in application containers.
The collaboration paradigm between App Developers and Platform Engineers with Kusion can be found in Collaboration Paradigm.
After that, we can re-apply the application:
kusion apply --watch

You may wait another minute to download the MySQL Module.
Re-check the Deployment and Service status:
kubectl -n quickstart get deployment,service
The expected output is shown below:
➜  dev kubectl -n quickstart get deployment,service
NAME                                                READY   UP-TO-DATE   AVAILABLE   AGE
deployment.apps/quickstart-dev-quickstart           1/1     1            1           1h1m
deployment.apps/test-database-db-local-deployment   1/1     1            1           1m1s

NAME                                        TYPE        CLUSTER-IP     EXTERNAL-IP   PORT(S)    AGE
service/quickstart-dev-quickstart-private   ClusterIP   10.43.129.16   <none>        8080/TCP   1h1m
service/test-database-db-local-service      ClusterIP   None           <none>        3306/TCP   1m1s
In the above Kubernetes resources, deployment.apps/quickstart-dev-quickstart and service/quickstart-dev-quickstart-private corresponds to the Deployment and Resources of the quickstart demo application, while deployment.apps/test-database-db-local-deployment and service/test-database-db-local-service corresponds to the local MySQL database.
We can port-forward the quickstart demo application again:
kubectl port-forward -n quickstart service/quickstart-dev-quickstart-private 12345:8080
Let's visit http://localhost:12345 in our browser, and we can find that the application has successfully connected to the MySQL database. The connection information is also printed on the page.
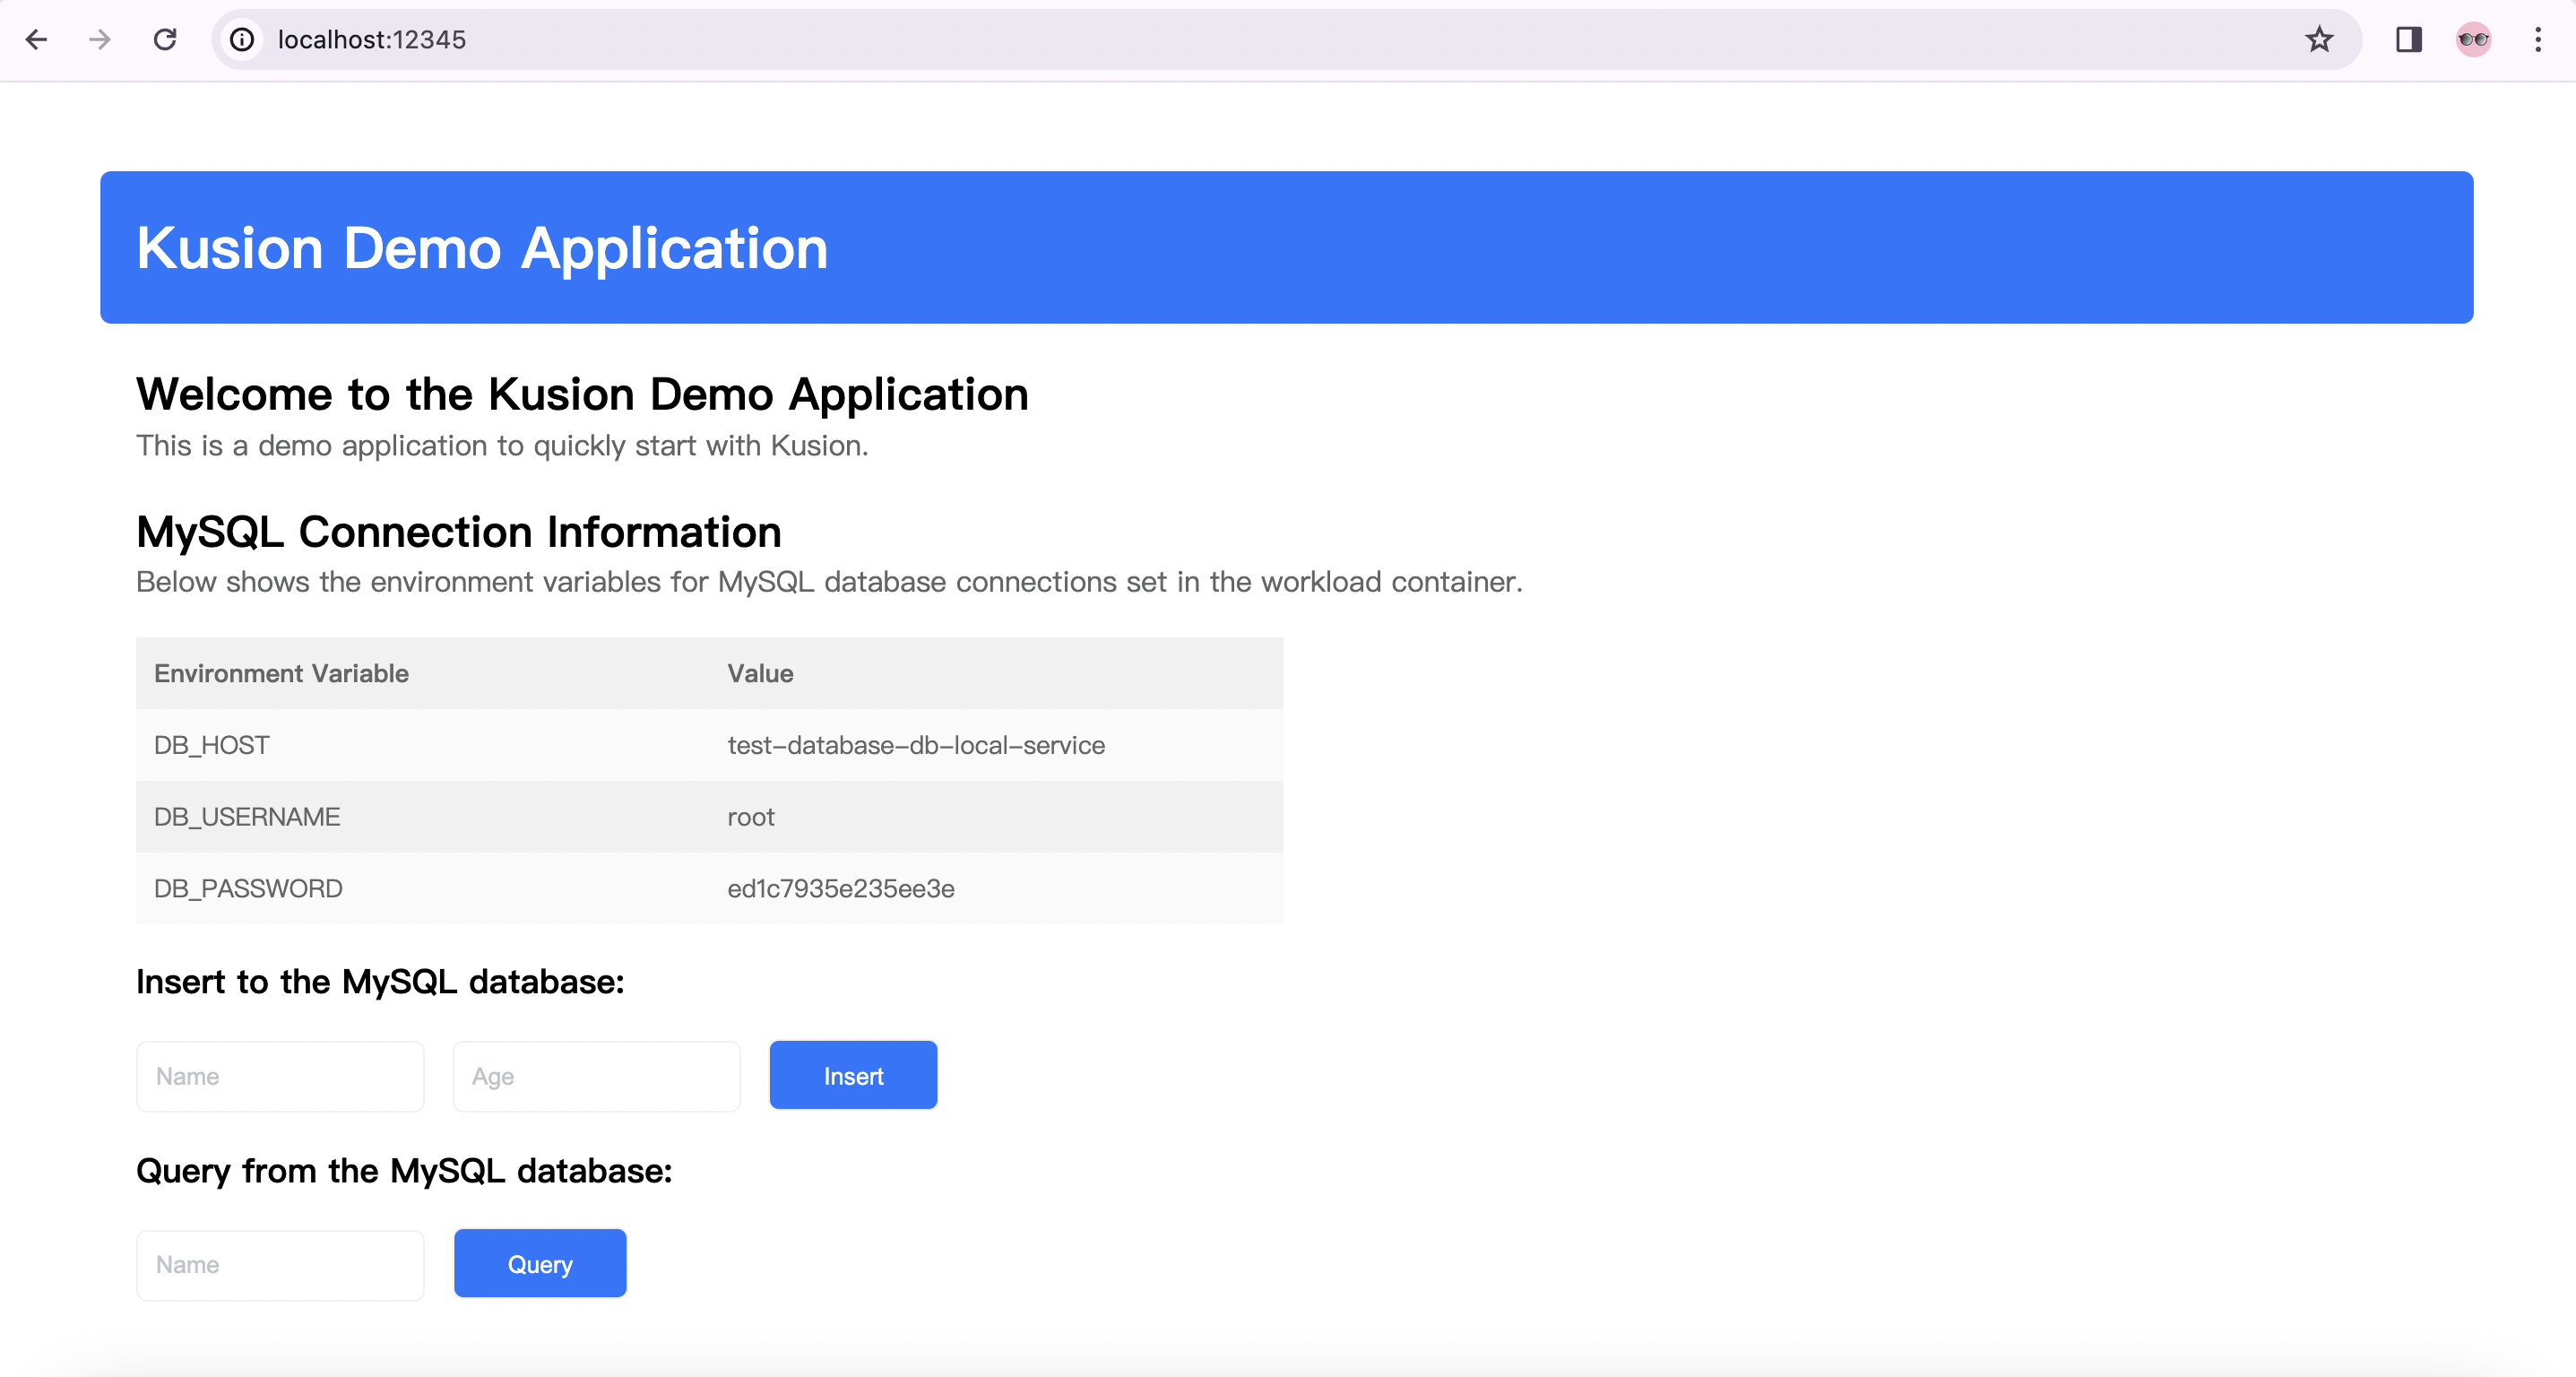
Now please feel free to enjoy the demo application!
Delete Application
We can delete the quickstart demo workload and related accessory resources with the following cmd:
kusion destroy --yes